Vermont-casting Gas Grill User Manual Page 25
- Page / 36
- Table of contents
- BOOKMARKS
- Great Outdoors 1
- Table of Contents 3
- Liquid Propane Gas 5
- Barbecue Grills 5
- (cut away to see fitting) 8
- Locate these parts: 10
- Side Pillar 11
- Panel (2) 11
- Front Pillar 11
- Panel (1) 11
- Base Assembly 12
- Cylinder 12
- LOCATE THESE PARTS: 13
- Side Burner 14
- Table Assembly 14
- Side Table 14
- Assembly Step 6 - Continued 16
- Heat Tents 17
- Cooking Grids 17
- Warming Rack 17
- Assembly Step 8 - Continued 19
- Stainless Series Gas Grill 23
- Leak Testing 24
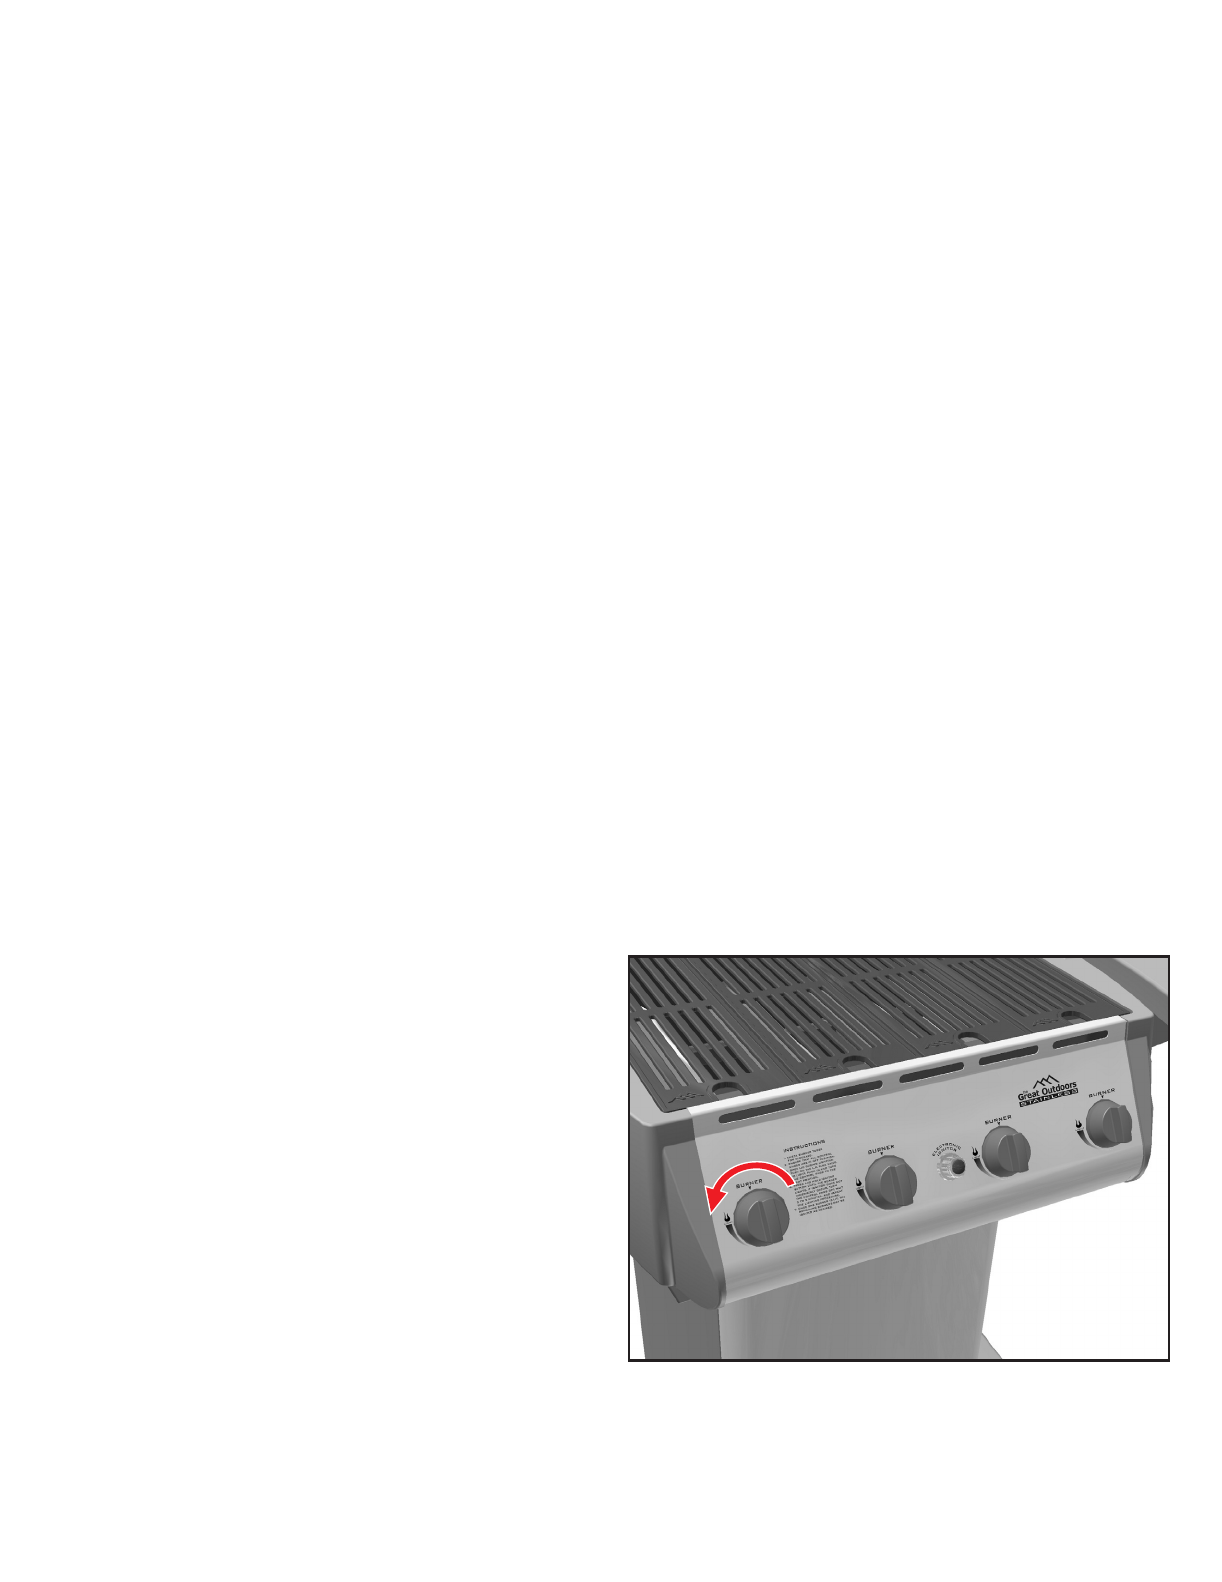
- Lighting Instructions 25
- Side Burner Operation 27
- Using Your Gas Grill 28
- Caring for Your Gas Grill 29
- Cleaning and Maintenance 30
- 02/13/03 31
- Outdoor Cooking 32
- BEST PORK RIBS 33
- HMM - HMM HAM STEAK 33
- GRILLED CHICKEN 33
- TASTY TURKEY 33
- SIDE DISHES 34
- FISH / SEAFOOD 34
- DESSERTS 35
- VEGETABLES 35
Related products and manuals for Grills Vermont-casting Gas Grill
 (52 pages)
(31 pages)
(32 pages)
(52 pages)
(52 pages)
(31 pages)
(32 pages)
 (15 pages)
(32 pages)
(30 pages)
(25 pages)
(30 pages)
(33 pages)
(31 pages)
(31 pages)
(27 pages)
(24 pages)
(31 pages)
(32 pages)
(31 pages)
(15 pages)
(32 pages)
(30 pages)
(25 pages)
(30 pages)
(33 pages)
(31 pages)
(31 pages)
(27 pages)
(24 pages)
(31 pages)
(32 pages)
(31 pages)
© 2020, manymanuals.com. All rights reserved. | 4.357 s |
 Manymanuals.com
 Manymanuals.de
 Manymanuals.fr
 Manymanuals.it
 Manymanuals.pl
 Manymanuals.cz
 Manymanuals.es
 Manymanuals-pt.com
Comments to this Manuals